Lands of Despair
Sismond’s Diabolical Plan
The Land of Malevolence is teetering on the edge of chaos. The Demon Sismond has contaminated the land, making the inhabitants into zombies which he can use to bolster his undead army. All the while, Dwarves, Rhinos and ruling families are waging war in the Redhill Mountains and Tergothen Bay.
Help bring an end to the suffering.
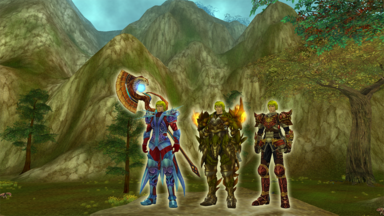
Multiple Class System
Chapter IV brought a raft of features to Runes of Magic, including the multiple class system.
This includes:
- Having three classes in one character
- Two new zones especially for your third class
- More possibilities for character development
You can find out more about third classes and their teleporting abilities in the Beginner’s Guide under Multiple Class System. There you will also find information on the new zones for the third class.
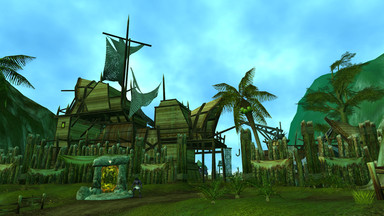
Two New Zones for Your Third Class
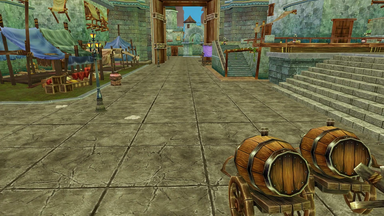
Coast of Opportunity (Levels 1 to 42)
This coastal region is one of the best places to quickly level up your third class. Master innumerable challenges in the seedy ports and long expanses of beaches. Meet other hardy adventurers and try your hand at trading.
Xaviera (Levels 43 to 50)
Your voyage with your third class will lead you to Xaviera. Explore the small settlements throughout the land, face dangerous threats and hear fascinating tales. Speak to Robest and find out how all is not as it seems in this would-be paradise...
Five New Zones
Chapter IV saw the introduction of five new zones. You can learn about three of them here. To read about the rest, click on the ‘Features’ tab.
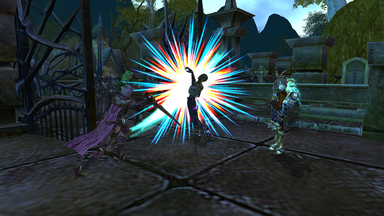
Land of Malevolence (from Level 63)
Amidst the dangerous moors and forests dwell the last survivors of Sismond’s plague. Help them defend their settlements against his army which draws ever closer...
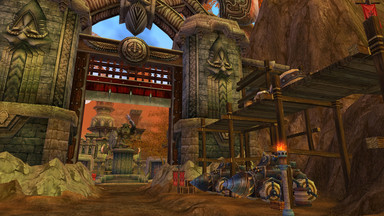
Redhill Mountains (from Level 66)
Between rolling hills and sprawling forests, Rhinos and Dwarves are waging a bloody battle. Come and marvel at their siege weaponry, the destroyed cities of the Rhinos and the Dwarven empire – just don’t get caught in the fray!
Tergothen Bay (from Level 68)
This coastal area has long attracted heroes of all creeds, but Sismond also has his sights set on it. One of the fortresses in the land, Sardo Castle, has been under his possession since Chapter IV. All is not well in the region’s other castle, either, since its inhabitants are at war with each other and plunderers have caught the whiff of discord and are arriving to take part.
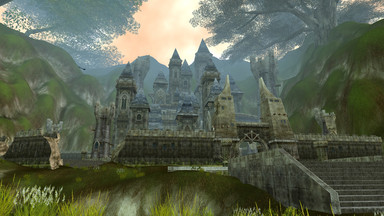
Three New Instances
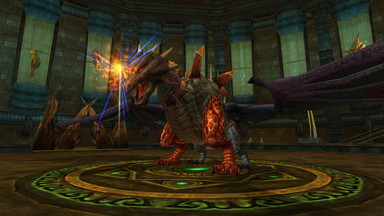
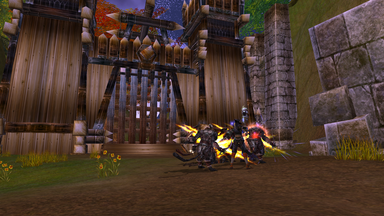
Grafu Castle
Zone: Land of Malevolence
Level: 65
Players: 6/12
Difficulty levels: easy, normal, hard
Depending on the difficulty level selected, you must conquer five or six bosses who do the bidding of Sismond. These include artists, clowns, crazy animal trainers, and even Lord Grafu and Annelia, who are in cohorts with the Demon Lord. Rid Grafu Castle of this madness and bring about the return of peace.

Sardo Castle
Zone: Redhill Mountains
Level: 67
Players: 6
Difficulty levels: easy, normal
Sardo Castle is Sismond’s secret laboratory. This is where he is building his undead army and where you will encounter the most dangerous of his creations. Traipse through the three levels of the building and destroy skeleton warriors, treacherous housekeepers, the castle guards and other fearsome opponents.
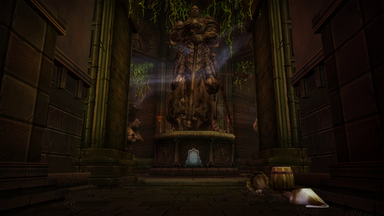
Tomb of the Seven Heroes
Zone: Thunderhoof Hills
Level: 70
Players: 6/12
Difficulty levels: easy, normal, hard
In this labyrinthine tomb lay the remains of King Kalume and the greatest heroes of the age. In Chapter IV, Sismond finally found a way to bring them back to life. You must now withstand the wrath of the re-awakened souls and other evil forces that lurk in the tomb. Only by pulling out all the stops do you have a chance of survival.
Open Encounter
Endless Night:
Zone: Land of Malevolence
Stages: 7
An old cemetery is once again under siege by the undead. Only you can help its inhabitants return to resting in peace. You will encounter wave after wave of zombies, purify contaminated souls and master a range of bizarre tasks...
World Battlefield
Bolinthya Rift
Zone: Silverspring/Dust Devil Canyon
Difficulty Levels: easy, hard
You must bring order to the Bolinthya Rift! Join forces with a strong troop and help each other through the challenges that lie within. You’ll receive points for every battle and quest, which you can trade in for items.